

Key Takeaways
Why Two-Factor Authentication Matters
A password alone is no longer a reliable barrier. Data breaches expose millions of credentials each year, and once a password is compromised, an attacker can log in to your account from anywhere in the world within seconds. Two-factor authentication — commonly abbreviated as 2FA — requires a second form of verification beyond your password, so stolen credentials alone are not enough to break in.
Think of it as a deadbolt added to a door that already has a knob lock. Even if someone copies your key, they still cannot get through without the second mechanism. The "second factor" is typically something you physically possess: your phone, a hardware key, or an authenticator app that generates a one-time code.
Your email account deserves the highest priority. Because most services send password-reset links to your inbox, whoever controls your email effectively controls everything connected to it — banking alerts, shopping accounts, and social profiles. Pair 2FA with strong, unique passwords; our guide to password managers explains how to manage those without memorizing dozens of combinations. For broader context on protecting your information online, see keeping personal data safe when using online services.
Your Email Account Is the Master Key
If an attacker accesses your email inbox, they can trigger "forgot password" resets on virtually every other service you use. Enabling 2FA on your email account before any other account is the single highest-impact security step you can take. Do not skip or defer this one.
What You Need Before You Start
The setup process is straightforward, but having a few things ready ahead of time prevents interruptions midway through.
What you will need
Once you have these ready, plan to work through one account at a time rather than rushing through several simultaneously. Attempting too many at once increases the chance of skipping the backup-code step — a common mistake that causes lockouts.
Use an Authenticator App, Not Just SMS
Authenticator apps work without a cell signal or data connection and are not vulnerable to SIM-swapping. Once you have one installed for a single account, adding subsequent accounts takes under two minutes each. The initial setup investment pays dividends across every account you protect.
Step-by-Step: Enabling 2FA
The exact menu names vary by platform, but the underlying process is consistent across email providers, financial institutions, and social media services. Follow these steps for each account, starting with your primary email.
Locate the security settings for your account
Log in to your account, then navigate to Settings or Account Settings. Look for a section labeled Security, Privacy & Security, or Sign-In & Security. On most platforms, a direct search for "two-factor" or "2-step verification" in the settings search bar will take you straight there.
Choose your second-factor method
Most platforms offer two or more options:
- Authenticator app — generates a fresh 6-digit code every 30 seconds; this is the recommended choice
- SMS text message — sends a code to your phone number; easier to set up but more vulnerable to SIM-swapping attacks
- Hardware security key — a physical USB or NFC device; the strongest option, best suited for high-value accounts
Select Authenticator app if the option is available.
Scan the QR code with your authenticator app
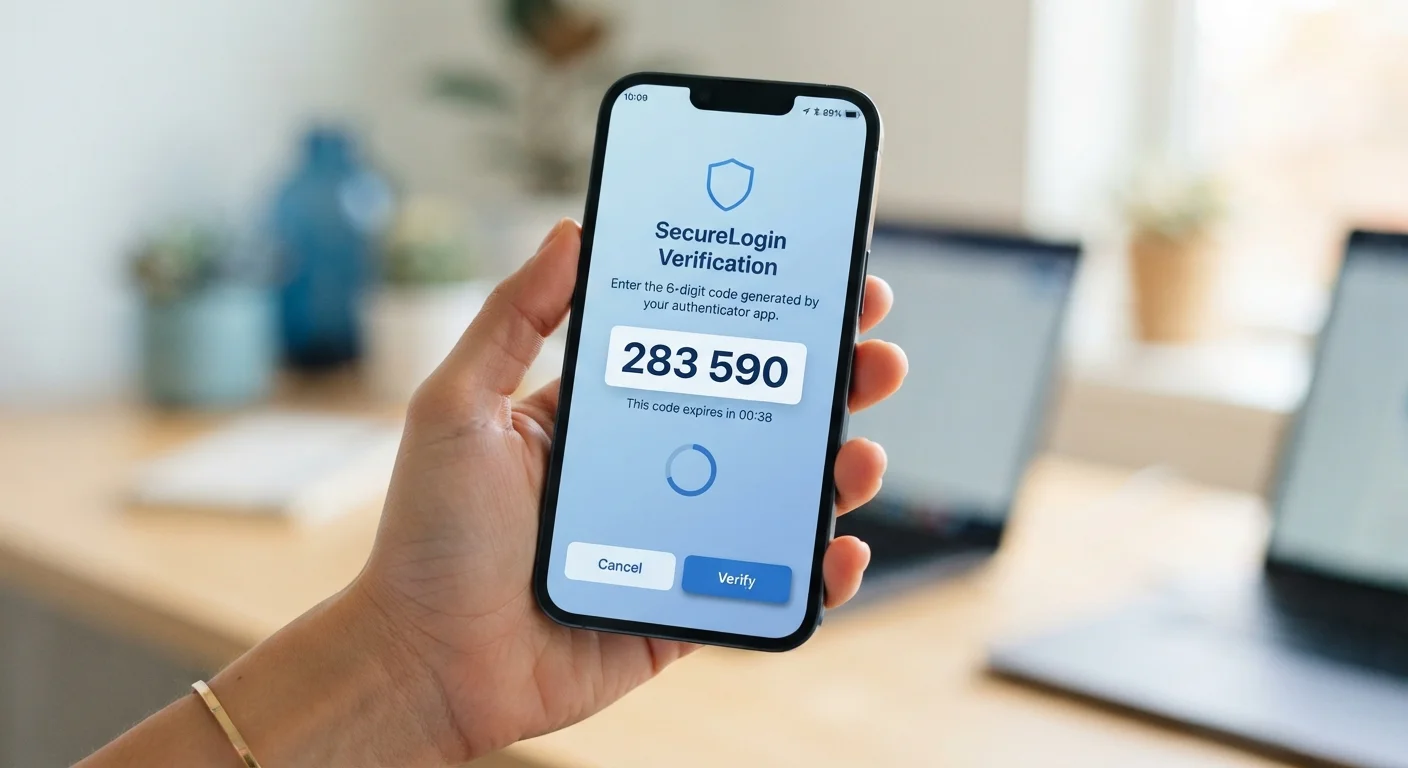
The platform will display a QR code on screen. Open your authenticator app, tap the + or Add Account button, then point your camera at the QR code. The app will immediately begin generating 6-digit codes tied to that account. Enter the current code into the platform's verification field to confirm the link is working.
Save your backup codes
After verifying the authenticator link, the platform will offer a set of one-time backup codes — typically 8 to 10 codes. These are your emergency access if you lose your phone. Write them down or print them and store them somewhere physically secure, such as a locked drawer. Do not save them only in the cloud or on the device you use to generate 2FA codes.
Test the full login flow before closing the session
Open an incognito or private browser window and attempt to log in to the account using your password. Confirm that you are then prompted for your second factor, and that entering the code from your authenticator app completes the sign-in successfully. This verifies the entire chain is working before you rely on it.
Once 2FA is active on your core accounts, extend the habit to adjacent areas of your digital life. If you automate bill payments or savings transfers, those financial accounts carry real risk — our article on automating your finances covers what's worth protecting there. For device-level security habits that complement account protection, see mobile security fundamentals.
Never Share Verification Codes With Anyone
Legitimate services will never call, email, or text you asking for your 2FA code. A request for your code — regardless of how official it appears — is a hallmark of social-engineering fraud. Treat every 2FA code as private as your password and share it with no one.